Ever felt that familiar scenario when you’re all in for a project, only to have something more important pop up unexpectedly?
For myself, I realized, it’s not the best idea to start blogging when you have to move in between flats and you suddenly realize you have to do the job as a constructor too. That’s why it took this long in between my first post and this one.
But I realized that planning a shooting and planning construction work is not so different, except that I know much more about shootings than construction work, so I had to do my homework.
If you are doing your homework right you have to do a lot of research, which brings me to today’s topic.
My first Timelapse project (The old)
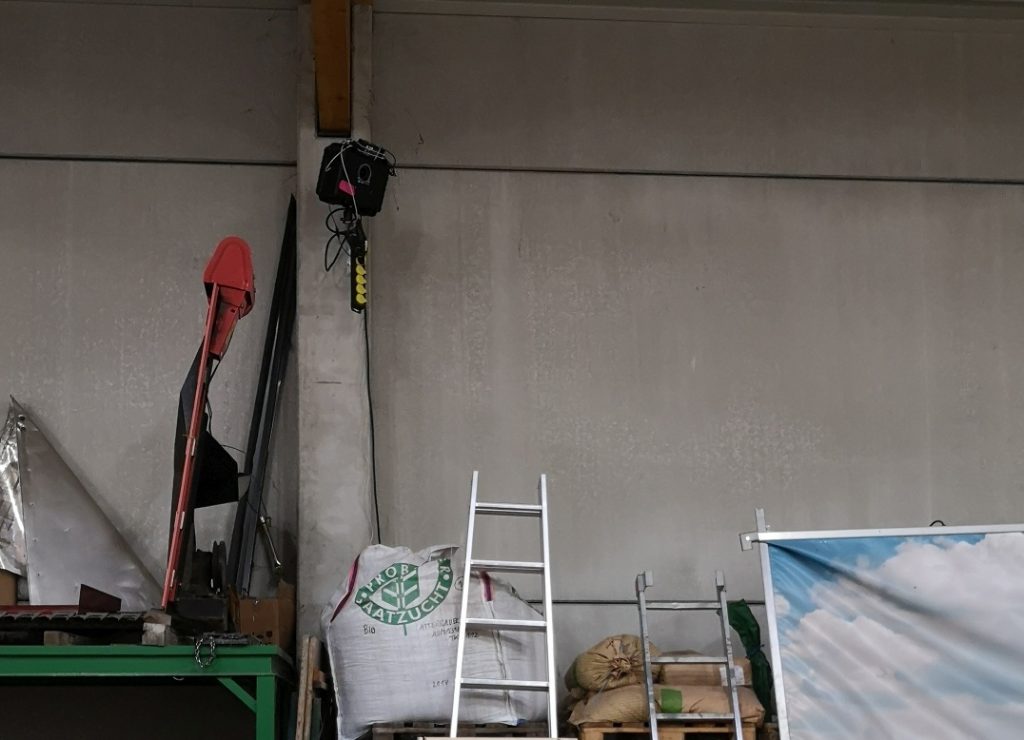
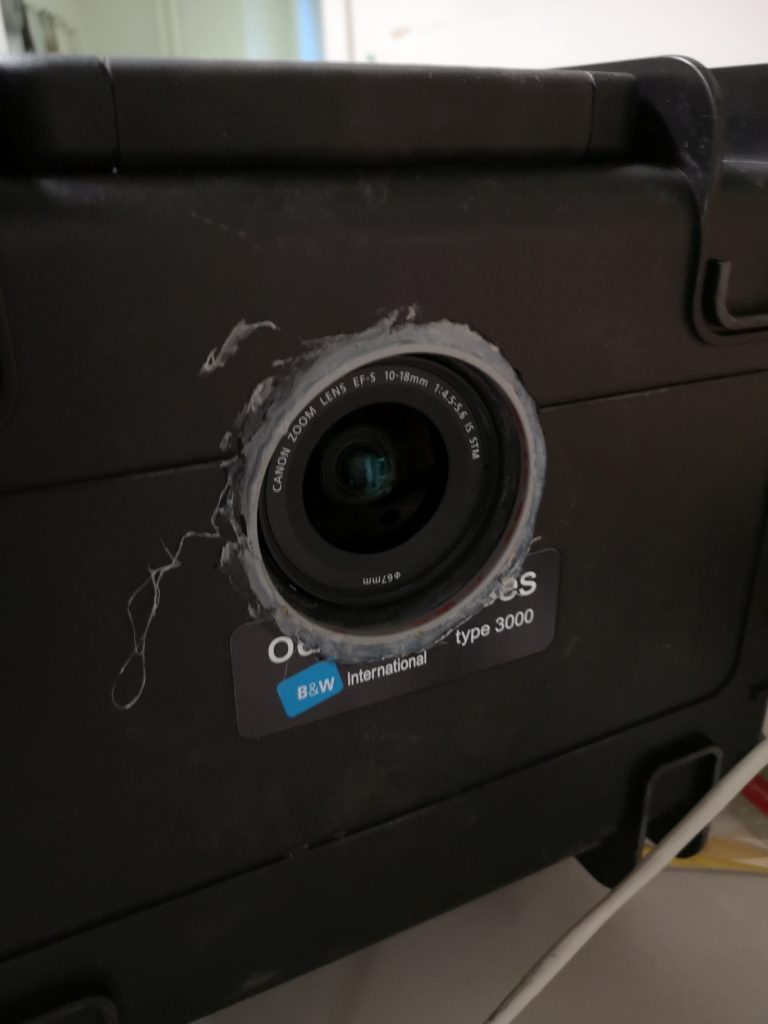
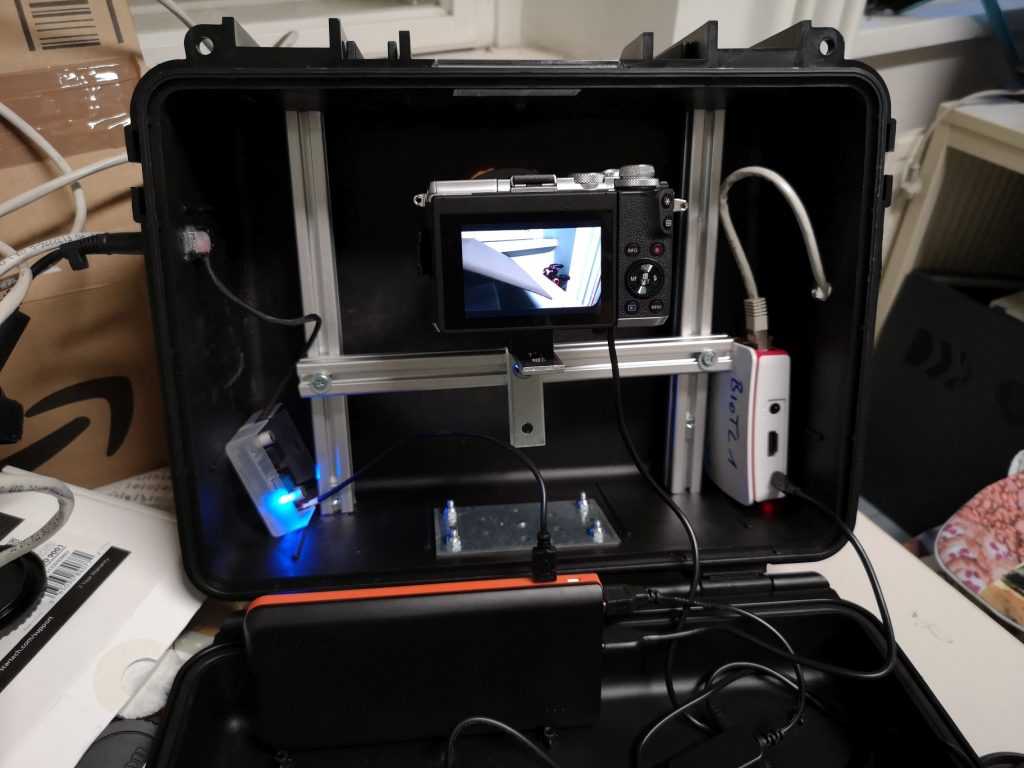
A few years back, I had to set up a timelapse for a project of the Institute of Green Civil Engineering of the University of Natural Resources and Life Sciences Vienna, with a timeline of 1-2 years, depending on project progress. Opting for a DSLR timelapse, I bought the necessary parts, wrote a script for a Raspberry Pi, build a case for the cameras and the Raspi, mounted them, connected them to the Internet, fine tuned everything, configured a backup to a server with rsync and after some time, of course, I ran into some problems….
One of the cameras decided to become picky and was shutting down sometimes without a reason. It was sent in for a service and officially the mainboard of the camera was changed, but nothing changed…
I found a workaround with a network power plug, where I could remove the power and turn it on again. This did the trick for me (most of the times).

Despite the challenges, the end result was successful, capturing important project moments. Check it out here:
Timelapse with Cam-Do (The new)
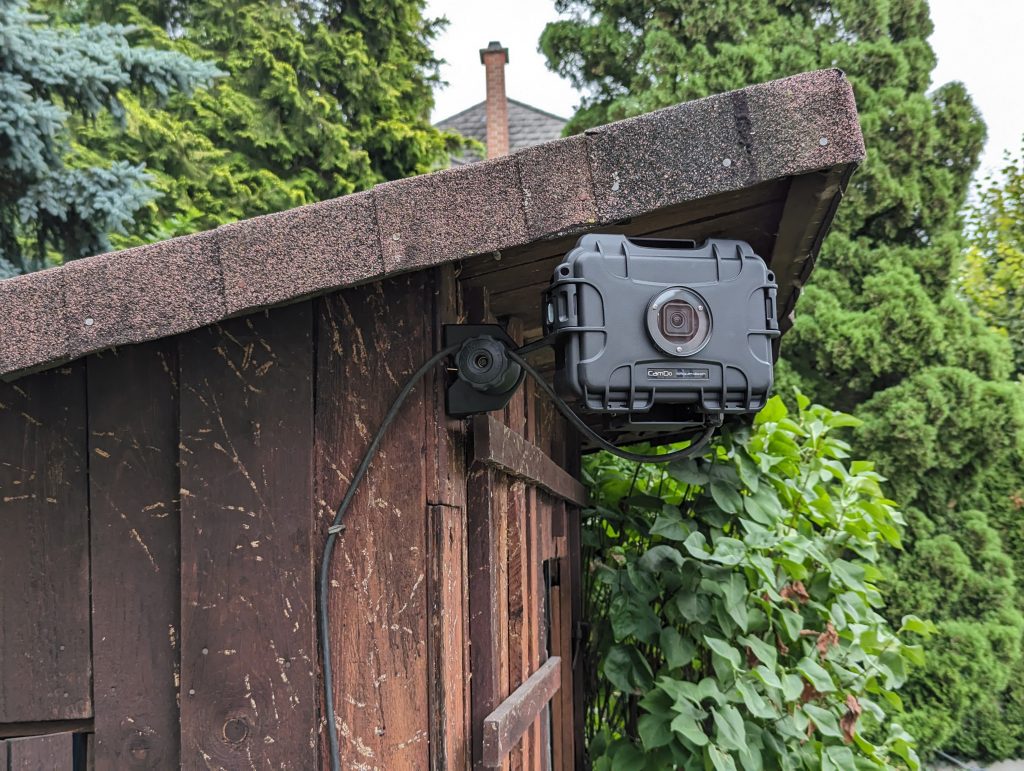
This time again with the Institute of Green Civil Engineering , I had to settle for a single outdoor timelapse box. So, I looked for an all-in-one solution, possibly GoPro-based, with a backup battery and remote accessibility. That’s when I came across Cam-Do, a company specializing in time-lapse boxes and a cloud platform. Essentially, it’s a module with a battery and a camera, simplifying the process I had once painstakingly configured.
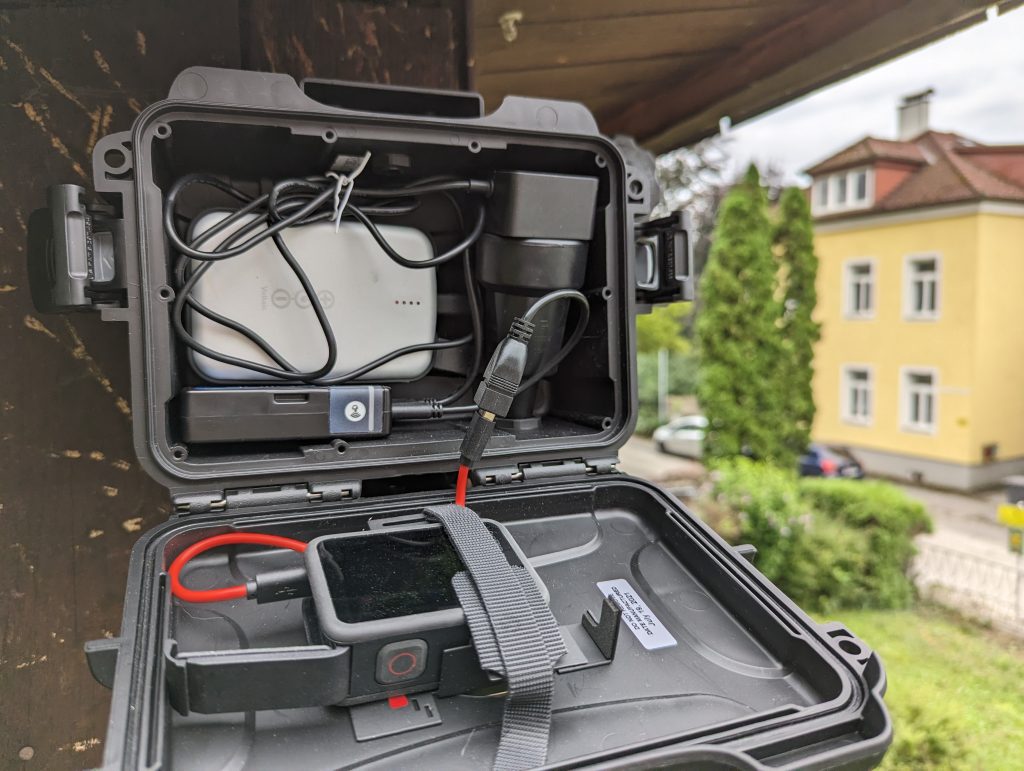
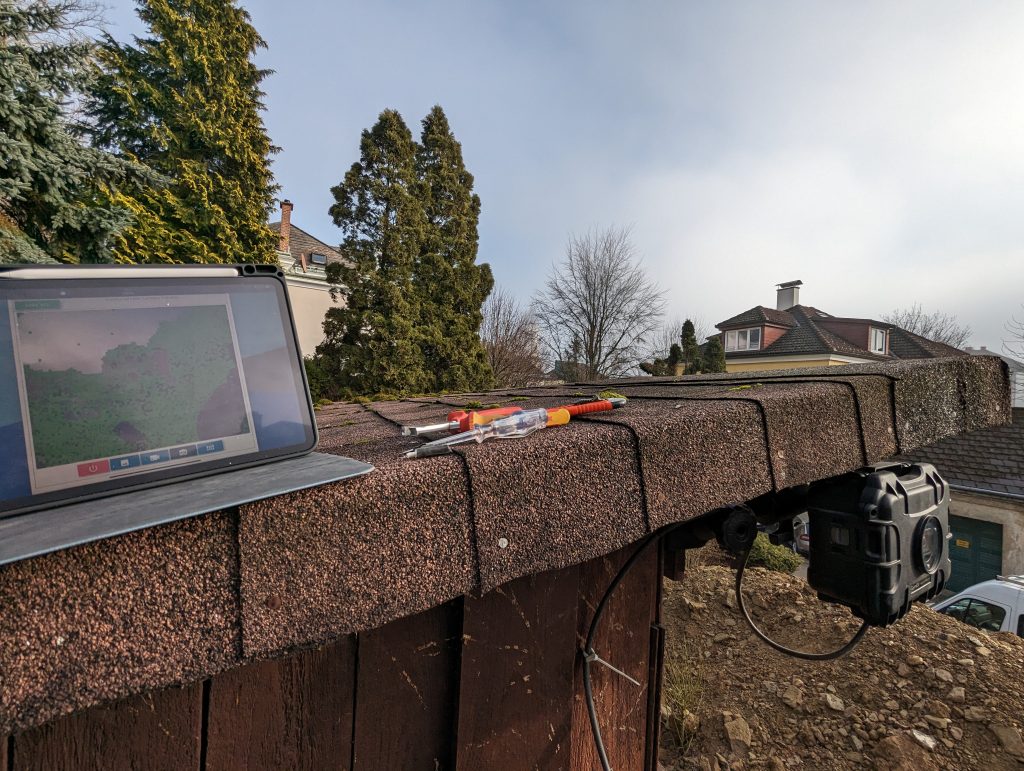
Once I got the hang of it, the process became straightforward. A user-friendly web interface facilitated time-lapse and upload configurations.
Check the Link here to see what it can do: https://cam-do.com/pages/cloudx-time-lapse-platform
There are various payment plans for the Cloud Service: https://portal.cam-do.com. We opted for the FTP option, a one-time payment. Enabling it required reaching out to support, and after a firmware update check, connecting to our FTP server was smooth.
I’m currently content with this solution. It’s well-documented, and the manuals are easy to follow.
Downsides
However, no solution is perfect. One downside is the inability to upload raw camera files. While I prefer the flexibility of raw files in post-production, the GoPro surprised me with how well it handles information in JPEGs.
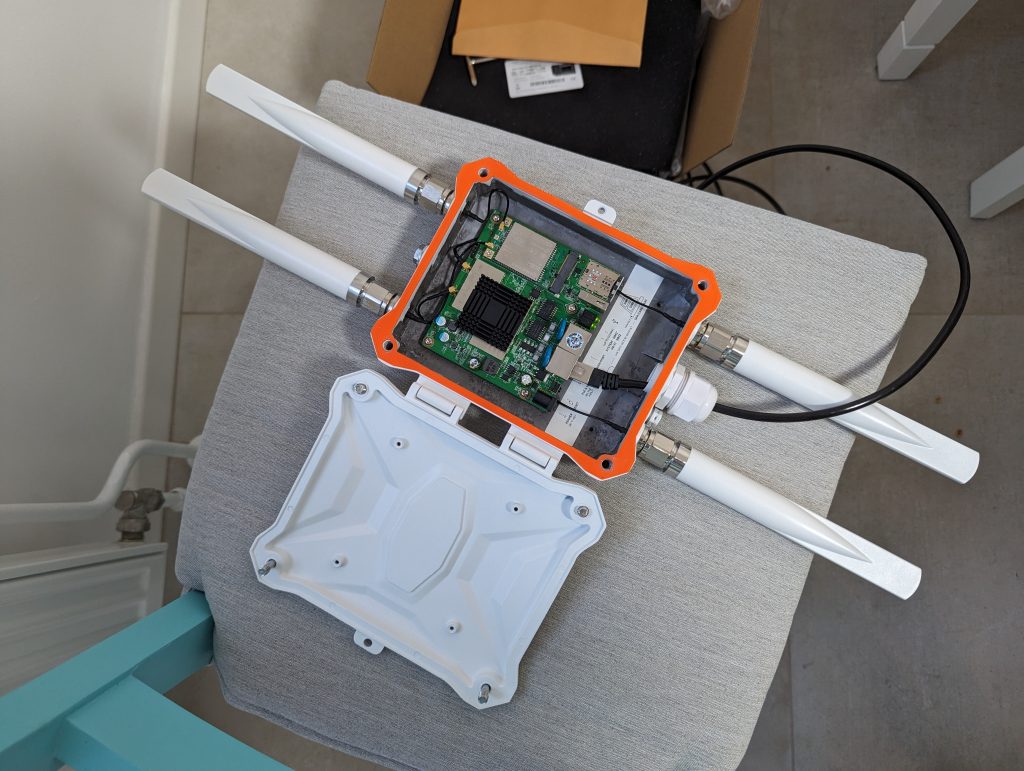
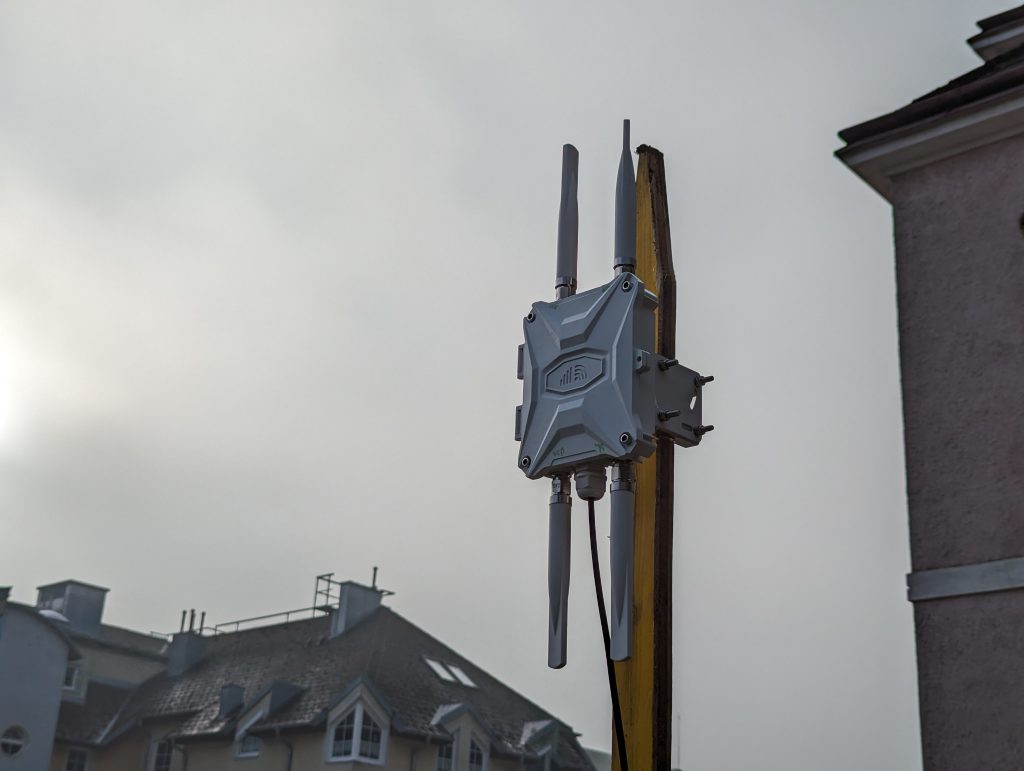
Wifi and 4G Outdoor Router
For a construction site timelapse, you’ll need the ability to upload data, which means you need a router. After some research, I settled on an outdoor router that’s weatherproof and has all the necessary features for the project. A handy feature is the network cable connection to the power plug, allowing you to link devices without Wi-Fi.
Consider this article a guide. If you’re setting up a timelapse or need help with your project, feel free to reach out to me!
Disclaimer: I don’t get paid by Cam-Do, nor did I receive anything from them. I am using their product and right now I am pretty happy with the results!